
Reviewed · GLACIER HIKES
Glacier Adventure at Sólheimajökull Private Tour
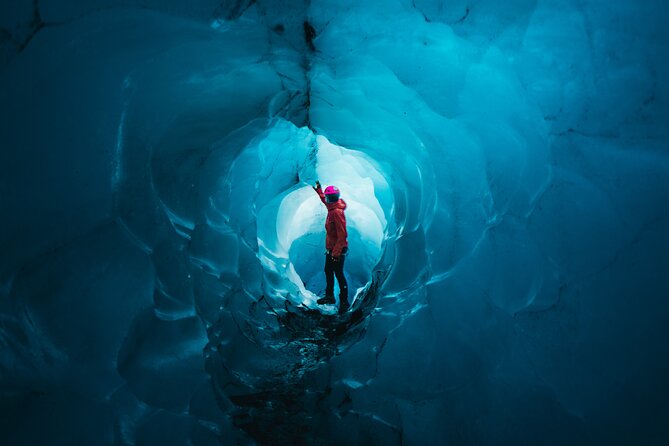
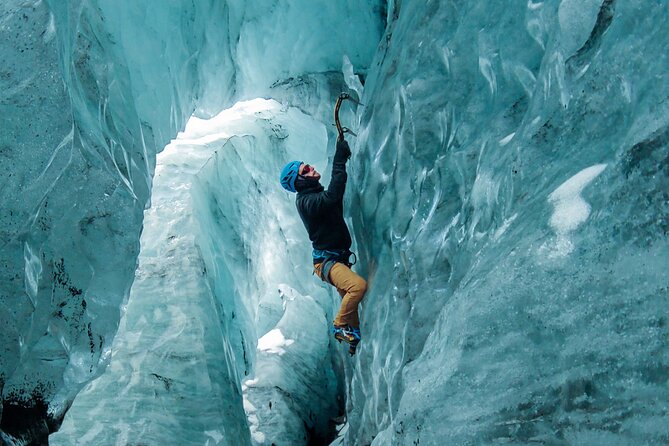
Ice climbing is colder, louder, and cooler than it sounds. This private Sólheimajökull glacier adventure pairs hands-on guidance with all the glacier gear you need, so you are not stuck figuring it out on your own. You’ll get a clear safety routine, then real climbing time on glacier features like a crevasse wall or a moulin.
One thing to weigh first: you do need to meet safety requirements and be ready for a moderate fitness level, including a boot check. If your boots do not match the ice-climbing standard, you’ll be asked to rent proper climbing boots nearby before you can climb.
In This Review
- Key highlights from the Sólheimajökull private glacier adventure
- Sólheimajökull: a glacier climb that is built for real learning
- The 4.5-hour flow: where your time actually goes
- Boot checks and glacier gear fitting: safety you can feel
- The 20-minute approach to the glacier front
- Crampon walking to climbing: how the tour builds confidence
- Glacier climbing time on moulins and crevasse walls
- Following the single line: safety, pace, and less stress
- Price and value: what $392.21 buys you on Sólheimajökull
- What to know before you go: fitness, weather, and boots
- Should you book this Sólheimajökull private ice climb?
- FAQ
- How long is the Glacier Adventure at Sólheimajökull private tour?
- Is this tour private or shared?
- What glacier gear is included?
- What if my boots do not meet the safety standard?
- Where do we meet, and where does the tour end?
- What happens if weather is bad?
Key highlights from the Sólheimajökull private glacier adventure
- Private, guide-led instruction so you can move at your group’s pace and ask questions all along
- Boot safety inspection before climbing, with a nearby rental option if your footwear does not qualify
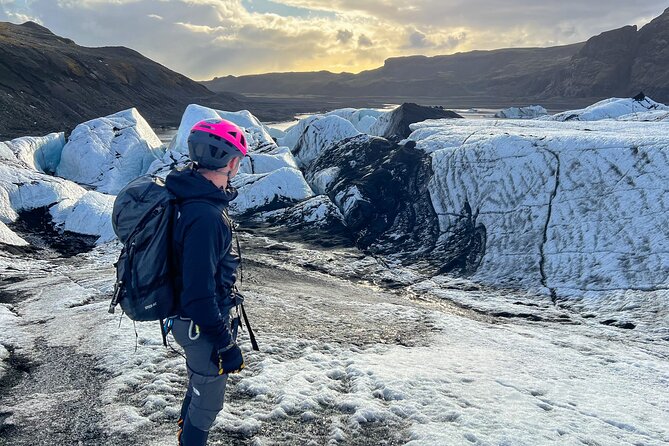
- Glacier gear included: crampons, helmet, harness, and ice axes
- Learn crampon walking on the glacier before you start climbing on real ice
- Time on glacier features, with your guide choosing the best climbing spot for your fitness and experience
- Made-for-weather flexibility, since the activity depends on good conditions
More crampons-on walks across the ice:
- Reykjavik: Glacier Hike, Waterfalls and Black Sand Beach
★ 4.8 · 1,285 reviews - From Reykjavik: Glacier Hike, South Coast and Waterfalls Day Trip
★ 5.0 · 915 reviews - Glacier Hike and South Coast Small-Group Tour from Reykjavik
★ 5.0 · 827 reviews
Sólheimajökull: a glacier climb that is built for real learning
If you want Iceland glacier time without spending your whole day planning and guessing, Sólheimajökull is a smart pick. It is close enough to Reykjavik for a half-day-style outing, yet it still delivers the full feel of being on a glacier. You are not just walking near ice, you are learning how to move on it safely and then using that skill right away.
What I like about this tour’s approach is that it treats the day like an actual skill session, not a photo walk. You meet your guide, get geared up correctly, and start with basics like how to wear crampons and how to walk while holding ice axes. That matters because on glacier ice, small technique issues can turn into big discomfort fast. With the guide watching you from the start, you get corrections early, when they are easiest to make.
The other big win is the private format. Since only your group participates, you get more direct attention, and your guide can adapt the pace based on what you can handle. The end result is that your time on the ice feels earned, not rushed.
The 4.5-hour flow: where your time actually goes
This is listed as about 4 hours 30 minutes. On paper, that is short. On the ground, it is just enough time to do the full loop: safety briefing, gear fitting, walking in, learning the crampon basics, then getting meaningful climbing time.
The day starts at the Sólheimajökull glacier parking lot where you meet your guide. From there, the first chunk of time is practical. You go through a check of your boots, get fitted with harness and helmet, and learn how to handle ice axes and crampons without panicking. Then there is a short approach walk to the glacier front, about 20 minutes, where you transition from “learning” mode into “using what you learned” mode.
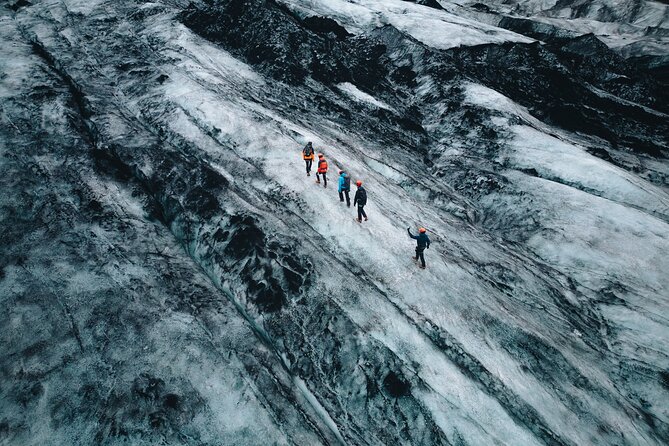
Once you reach the climbing area, the tour is structured so you are not wandering. You follow your guide in a straight single line through the terminal area toward a plateau. That line matters for safety and for keeping the group together. Then you spend most of the glacier experience at the climbing spot your guide chooses, based on the group fitness and experience. After that, you head back, your guide collects the gear, and you end where you started.
If you like clear steps and a plan that stays tight, this schedule works. If you are the type who wants long scenic pauses, you might wish it had more slack time. But for most people, the payoff comes from actually climbing.
Boot checks and glacier gear fitting: safety you can feel
This tour makes safety a visible part of the experience, not something you read about and forget. The guide inspects all your boots after you meet and check in. If your footwear does not meet the ice-climbing safety standard, you will be asked to rent climbing boots at a nearby company. The reason is simple, if you do not have proper boots, you will not be able to climb.
That boot inspection step is more important than it sounds. Crampons only work well when the footwear is secure and compatible. A sloppy fit can lead to instability, which is exactly what you want to avoid when you are stepping on uneven glacier ice.
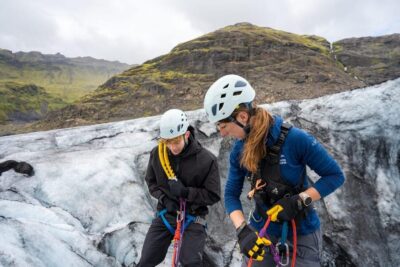
Once boots are sorted, you gear up: harness, helmet, and ice axes, plus crampons. You’ll be shown how to wear everything and how to walk safely holding the axes and using the crampons. Expect the guide to talk you through movement, not just hand you equipment.
One detail I really appreciate from the way this tour is described is that the guide teaches you before you climb. You do not jump straight into steep moves. You get a chance to practice the basic motions, then the tour moves forward to climbing on a moulin or a crevasse wall.
The 20-minute approach to the glacier front
After gear-up, you start from the parking area and walk about 20 minutes to the glacier front. This part is not just “getting there.” It is the transition moment where you shift your mindset from warm car and road sounds into cold, open glacier air.
At the glacier front, your guide introduces crampons and how to walk with them. This is your first real test of the day’s technique. It is also the point where nerves are normal. Crampons change how your feet feel, and ice axes change how your balance feels.
The best way to enjoy this stage is to focus on small things: watch where you place your feet, keep your steps controlled, and follow the guide’s cues. If you have any discomfort, say something early. In a private setting, your guide can adjust how you practice.
If you are prone to rushing, slow down here. The “easy” walk is where safe habits form, and they matter again when you are actually climbing.
A few more trips leaving Reykjavik
- Private South Coast Fire and Ice: Glacier viewpoint & Lava Show★ 5.0 · 451 reviews
- Private Golden Circle, Sky Lagoon and Friðheimar Greenhouse Lunch★ 5.0 · 381 reviews
- Blue Lagoon Entry Ticket with Optional Private or Shared Transfer★ 4.5 · 343 reviews
- Keflavik International Airport Private Transfer To/From Reykjavik★ 4.5 · 270 reviews
- Sky Lagoon Spa Experience with Private Transfer from Reykjavík★ 4.5 · 195 reviews
Crampon walking to climbing: how the tour builds confidence
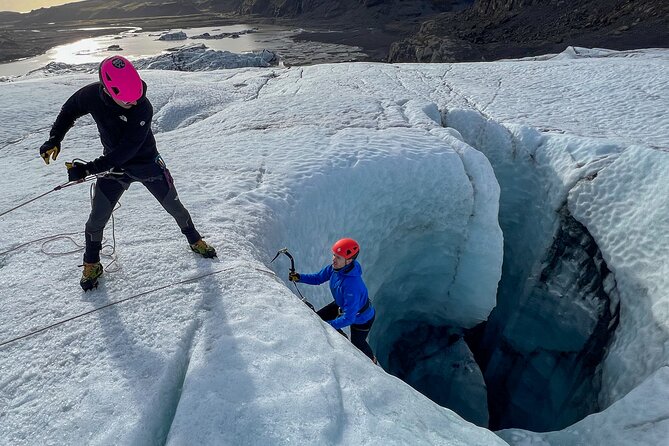
Glacier ice does not forgive guesswork. That is why the instructional part earns its time. You learn how to walk on crampons and how to handle your ice axe safely. This learning time is brief, but it is targeted, meaning you are learning exactly what you need for the climbing moves that follow.
What stands out from a real-world account of the tour is the role of the guide in creating confidence. One guide named Valerio was praised for making people feel comfortable and safe, while also teaching glacier knowledge along the walk. The same account also highlights that the guide adapted to ability levels, helping someone who never thought they would ice climb actually do it.
That is the practical point for you: if you are nervous, a good guide should help you translate fear into technique. The tour is set up for that, because you do not just show up and hope for the best.
Glacier climbing time on moulins and crevasse walls
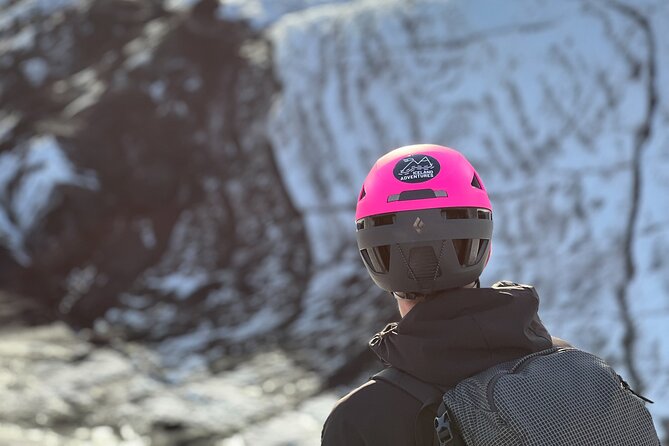
Once the group is ready, it is glacier time. You follow your guide in a straight single line through the glacier terminal area to a plateau. That routing helps keep things orderly and safe, especially because glacier conditions can vary.
At the plateau, your guide finds the best climbing spot for your group fitness and experience. That matters. Not every group should tackle the same spot or the same style of climbing. With a private format, your guide can adjust without having to please a one-size-fits-all itinerary.
Climbing happens in two possible feature types mentioned for this tour: a moulin or the wall of a crevasse. These are the kinds of glacier structures that make ice climbing feel real and specific, not generic. The moulin is an ice feature shaped like a vertical shaft. A crevasse wall is about reading and using the ice face safely while moving with control.
During this phase, you will spend most of your glacier experience. This is where crampon walking becomes climbing movement, and where your harness and helmet stop being “gear” and start being part of how you relax and focus.
One more thing I like in the description: the guide does not just throw everyone onto the same route. They look for the best spot based on your group. That helps you get a better chance of having a satisfying session, even if you are not super experienced.
Following the single line: safety, pace, and less stress
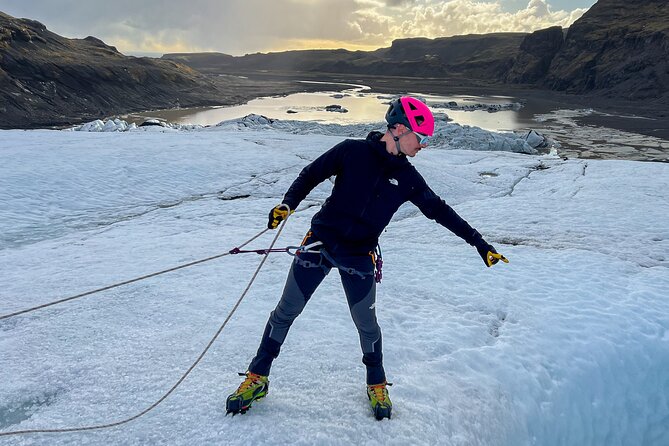
There is a reason the route is described as a straight single line. It is a safety structure. On a glacier, spacing and attention help prevent accidental missteps, and it keeps the guide able to monitor footing and technique.
For you, it also reduces mental load. Instead of scanning for where to go, you focus on your feet and your axe handling. And since this is a private tour, your guide can keep the line moving in a way that matches your group. That often feels better than joining a larger group where speed and stopping points are dictated by crowd size.
If you prefer a guided day with less navigation effort and more feedback, this style works. If you love freedom to wander, you will have to trade that for structure. But on ice, structure is a feature, not a limitation.
Price and value: what $392.21 buys you on Sólheimajökull
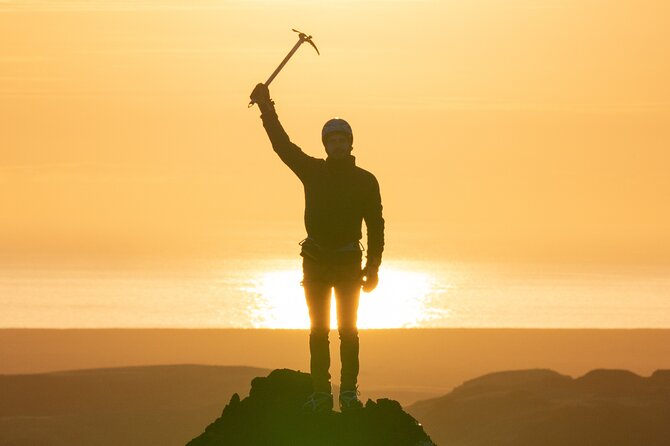
At $392.21 per person for a glacier adventure that runs about 4 hours 30 minutes, you are paying for more than access to ice. You are paying for instruction, safety systems, and the gear kit that makes climbing possible: helmets, crampons, harnesses, and ice axes.
That value jumps out when you compare what is included versus what is not. Transportation to reach the glacier is listed as not included, even though the highlights mention round-trip transit from Reykjavik. That means you should confirm what your specific booking includes before you plan your day. If you do not want to figure it out later, message the provider ahead of time and get the exact pickup details.
The other potentially hidden cost is parking. Once at the Sólheimajökull glacier parking lot, you can pay online at parka.is for about 750 ISK to 1000 ISK. That is not huge, but it is good to know so you are not hunting for payment at the wrong moment.
Where the price really feels fair is the private setup. Only your group participates, so your guide can spend time on fitting you correctly, teaching you the walking and climbing basics, and adjusting the climbing spot based on fitness and experience. For many people, that direct attention is what turns a scary first-time moment into a successful one.
What to know before you go: fitness, weather, and boots
This tour calls for moderate physical fitness. That does not mean you need to be an athlete. It does mean you should be comfortable with cold, uneven footing, and doing a guided effort for a few hours.
Weather matters a lot. The activity requires good weather, and if it is canceled due to poor conditions, you will be offered a different date or a full refund. On Iceland glaciers, you cannot control the sky. The smartest move is to treat this like a plan that depends on conditions, not like a guaranteed appointment.
Also, take the boot rule seriously. The guide inspects your boots. If they do not match the ice-climbing safety standard, you will need to rent climbing boots at a nearby company. Since the tour description says you will not be able to climb without proper boots, bring footwear that you expect will pass inspection.
If you want to be ready, plan your day so you can arrive on time and stay flexible. When the weather is good, this kind of tour moves quickly.
Should you book this Sólheimajökull private ice climb?
If you want a glacier experience with real hands-on instruction, this is a strong choice. Book it if you like having a safety-first guide, if you want gear provided, and if you want to actually climb on glacier features rather than just stand around for photos.
I would skip or rethink it if you are not comfortable with moderate physical effort, cold conditions, and the idea that the tour can shift or cancel when the weather does not cooperate. Also, if you plan to show up with random hiking boots, expect the boot inspection step to affect your day.
If you are the kind of traveler who likes a structured plan, a guide watching your technique from the start, and a private group experience where your ability level matters, you should feel confident booking. Sólheimajökull is a great place to learn the basics, then apply them right away.
FAQ
How long is the Glacier Adventure at Sólheimajökull private tour?
It lasts about 4 hours 30 minutes (approx.).
Is this tour private or shared?
It is private. Only your group will participate.
What glacier gear is included?
Helmets, crampons, harnesses, and ice axes are included.
What if my boots do not meet the safety standard?
Your guide will inspect your boots. If they do not match the safety standard for ice climbing, you will be asked to rent climbing boots at a nearby company. Without proper boots, you cannot climb.
Where do we meet, and where does the tour end?
The start is the Sólheimajökull glacier parking lot (221, 871, Iceland), and the activity ends back at the same meeting point.
What happens if weather is bad?
This experience requires good weather. If it is canceled due to poor weather, you will be offered a different date or a full refund.
Just listed out of Reykjavik
Glacier Hikes, compared.
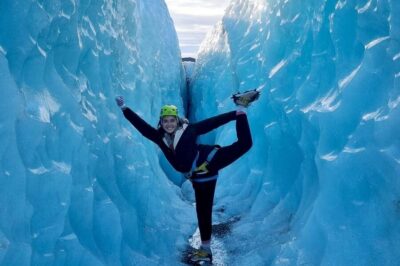
Glacier Hike, Waterfalls and Black Sand Beach
Read our review →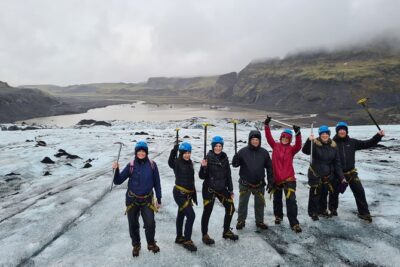
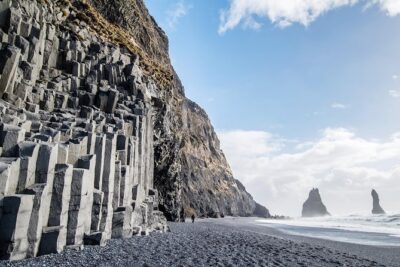
Glacier Hike and South Coast Small-Group Tour from Reykjavik
Read our review →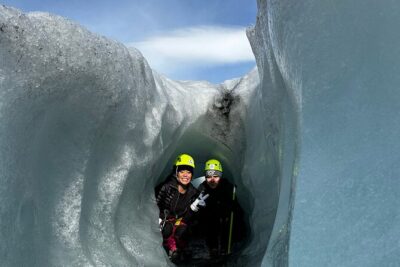
Glacier Hike, South Coast Waterfalls & Black Sand Beach
Read our review →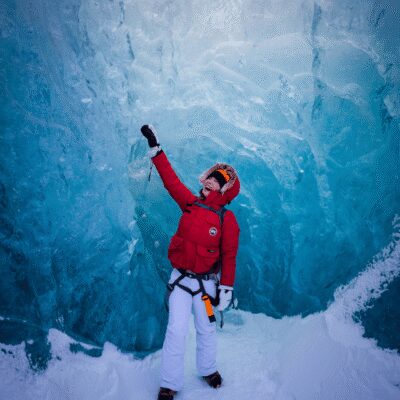
Sólheimajökull Glacier Hike & Ice Climbing Intro
Read our review →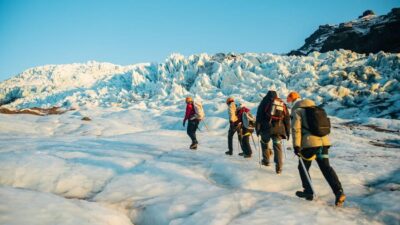
Skaftafell: Small-Group Vatnajökull Glacier Hike (Moderate)
Read our review →More days of this kind out of Reykjavík